Getting started with Visual Studio Online
2014-02-03On the launch day of Visual Studio 2013 Microsoft announced the new Visual Studio Online product. Basically this is a light version of Team Foundation Server in the cloud.
Right now Visual Studio Online exists in 3 variants, the variant that I will use in this blog post is the version called Visual Studio Online Basic. This version is free for up to 5 users. There are some very good features in this free version like unlimited projects, backlog tool, bug management, integration to different IDEs, run Continues Integration builds and more.
The first thing that I needed to do, to get started with Visual Studio Online Basic was to create an account. You can of course use your Microsoft Live account to create the account.
Go to the Visual Studio page visual-studio-online-overviewvs and then click on the Get Started button to create you account.
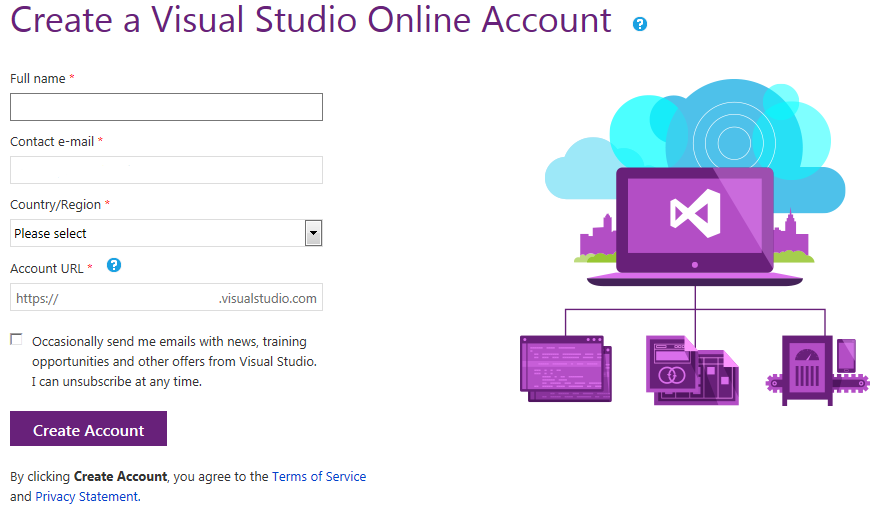
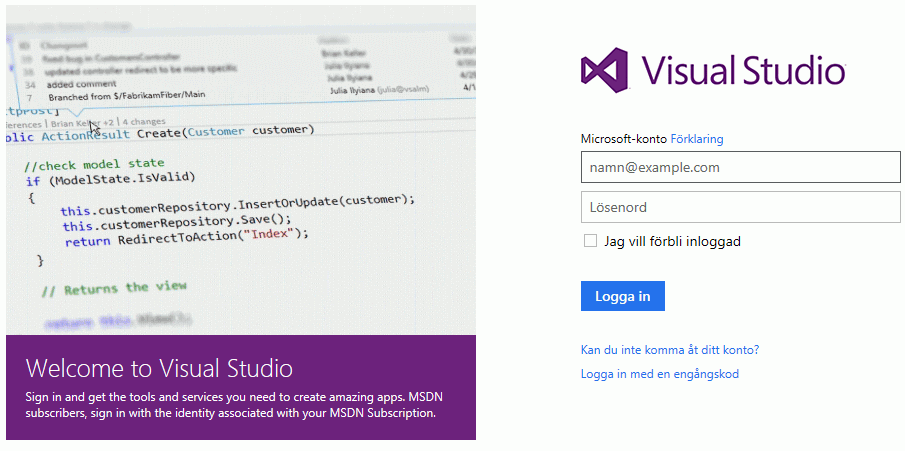
When createing your account you also need to select a Account URL, so you will get a URL that looks something like this https://SELECT_A_NAME.visualstudio.com. So, when you have create your account you go to the account URL that you selected in the account creation step, you will then come to this login page.
Create Project
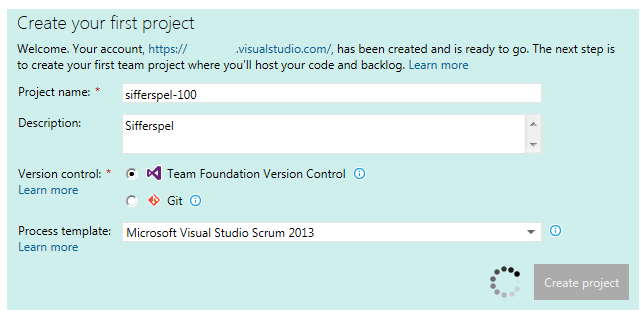
After login in the first time you will be prompted to create your first project, so that you have something to work with. In this process you basically need to decide 3 things:
Project name: That is of course just the name of the project
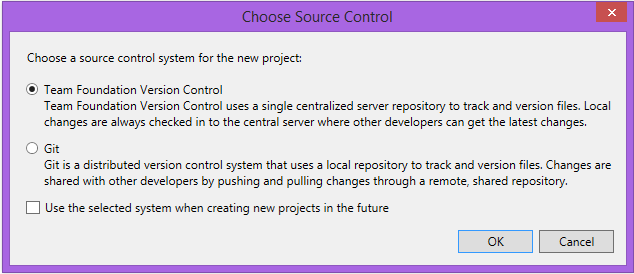
Version control: Here you need to select one of the two options Team Foundation Version Control or Git. Very shortly the differences between the two are that Team Foundation Version Control works from a centralized server and users usually only has one version of the source code on their development computer. Compared to that Git is a decentralized version control where each developer has its own copy of all the files. In this blog post I selected the Team Foundation Version Control, just for the reason that I have not worked with earlier and wanted to test it. Note that I don’t recommend to use the Team Foundation Version Control, since it’s locking files when they are checked out.
Process template: There are 3 types of process templates and I selected the Microsoft Visual Studio Scrum template, because I like to use a light weight process in this project.
Code
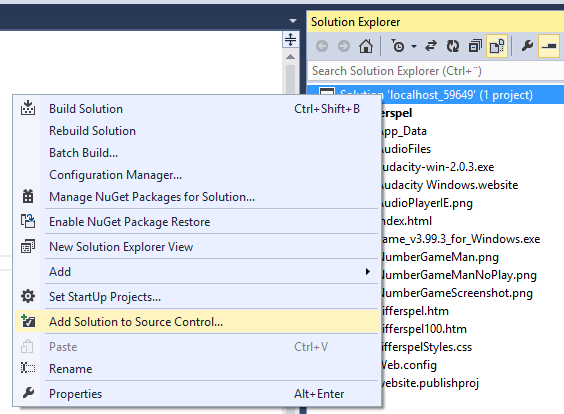
A Visual Studio Online project is nothing without any code. As you might remember, when I created the project in Visual Studio Online earlier, I selected to use the version control Team Foundation Version Control, so the code will be added to TFVC. I believe that the easiest way to add some code is to do it from Visual Studio 2013, the desktop version. In this example I already have a small sample app that I will use and I have opened the web application in Visual Studio. Then select “Add Solution to Source Control…” in the context menu for projects Solution.
After that you need to select what source control tool that should be used and as I said earlier, I selected Team Foundation Version Control earlier, so I will do it in this dialog also.
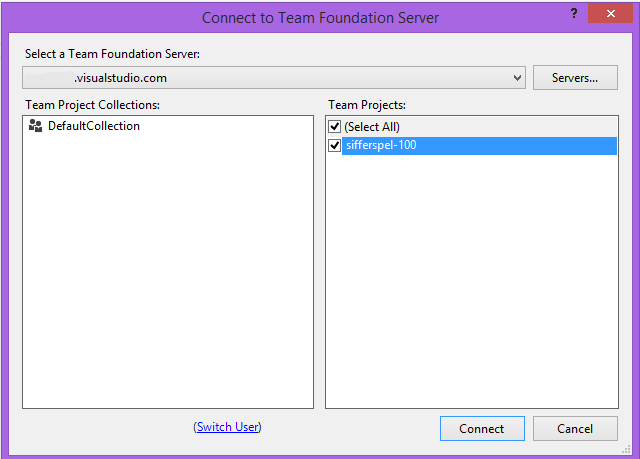
After this I need to connect to what Team Foundation Server I want to store the new project in and in this case I will select my Visual Studio Online server. I also select the example project that I earlier created in Visual Studio Online called “sifferspel-100”.
Then I just select where to store the solution in the Team Foundation Version Control and in the local workspace on my computer.
Great, I’m now done with the connection between Team Foundation Version Control in Visual Studio Online and in the local workspace on my computer.
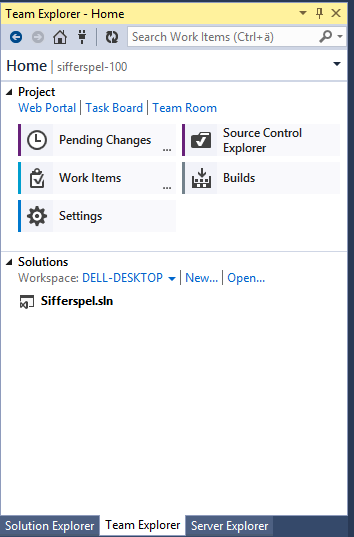
The Team Explorer now looks like this, so just click on the Pending Changes button.
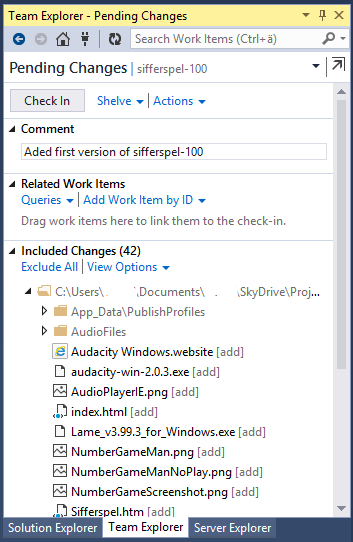
As you understand none of the files that I have in my already existing project has been checked-in yet. So that’s why all the files are marked as changed. What I did next was add a comment “Added first version of sifferspel-100” in the comments field and then clicked on the Check In – button. After that all files in my project should be in the Team Foundation Version Control repository.
If you then go back to Visual Studio Online we can now see the result of the first Check-in, and that is that all my files are now visible here also.
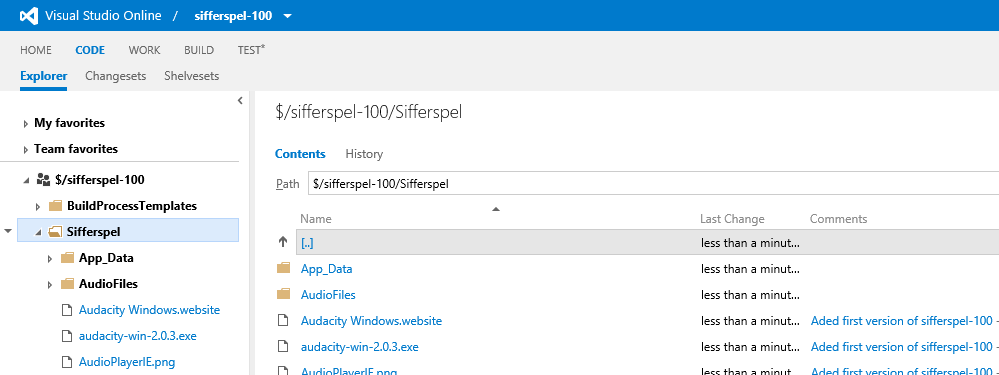
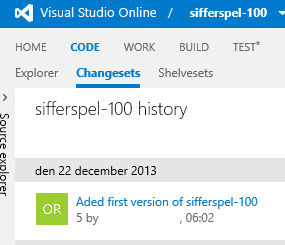
You can also see under Changesets that my Change comment is visible.
Work
After getting all my files into version control, it’s time to start create work that should be done with the project and this is done in the Backlog.
Create Backlog in Visual Studio Online, by going to the WORK tab.
You can have two types of work in the backlog and that is “Product Backlog Items” and “Bugs”. I think that it’s a bit strange that it’s called Product Backlog Item and not User Story, since I earlier selected that I wanted to use the Scrum process in this project. Let’s start by trying out to create “Product Backlog Items”, do that by typing a Title and then clicking on the Add button under Backlog items in the Work context. After clicking on the Add button you will get sort of a popup dialog that looks something like this:

As you can see in this dialog, it’s possible to enter a lot of different information about the item. But in this case set Effort to 1 (I use story points, so this is a small ting) and then I add a description and then I also add the Acceptance Criteria, so that I know what I should test after this Item has been implemented. After that I will also assign the work item to myself, the drop-down already has a list of possible users that I can assign work to.
The next thing that I will do is to go into Visual Studio to see if there is any work in the backlog for me. You do this by going to the Team Explorer in Visual Studio and then selecting Product Backlog. Here I find the Work Item that was assigned to me.
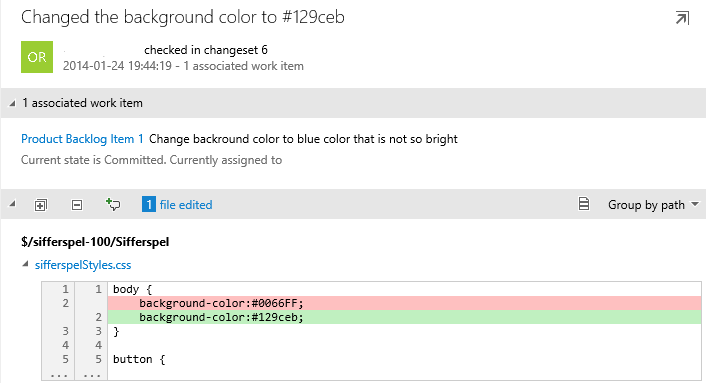
Then do your code change and when you are done, you go to the Team explorer and associate the Work Item with the modified source code files. Then you enter a Check-in comment and Check-in the change to Team Server. So, now you’re done with your change and you can check it in Visual Studio Online and it should look something like this for the change that I did. If you go to CODE and then Changesets. You will see on the top the Check-in comment and then the Work Item information and then in the bottom actual file that was changed and in what way it was changed (red old code, green new code).
More functionality
I have now basically showed you the entire cycle from creating a Visual Studio Online account and adding the first code and then using version control and Work Items to modify the code. There are even more functionality that you can use in Visual Studio Online, I will list them very briefly in the section below. But it’s not enough space in this blog post to go into detail there. But I wanted to menschen them anyway, so that you know that there is more.
Build
It’s possible to do Continues Integration with help of Visual Studio Online and it’s possible to do this with both Team Foundation Version Control and GIT. In the free version “Visual Studio Online Basic” you will get 60 minutes of build time per month in Visual Studio Online that you can use. You can configure the Continues Integration build in Visual Studio, under Builds in the Team Explorer.
Test
You can use Visual Studio Online to run you unit test also. You actually do the setup for this under the Build section, by editing the Build Definition. You are not even limited to use the standard unit test framework; you can also setup a custom unit test framework.
It’s not possible to use the Manual Testing functionality in Visual Studio Online without having a legit MSDN account.
Deploy
If your application is hosted in Azure web sites, you can also automatically deploy your application as part of the Continues Integration and testing. To set this up you go to your Azure web site and do the configuration. If you setup this also you have free out of the box continues delivery process setup.
Interesting Links: